
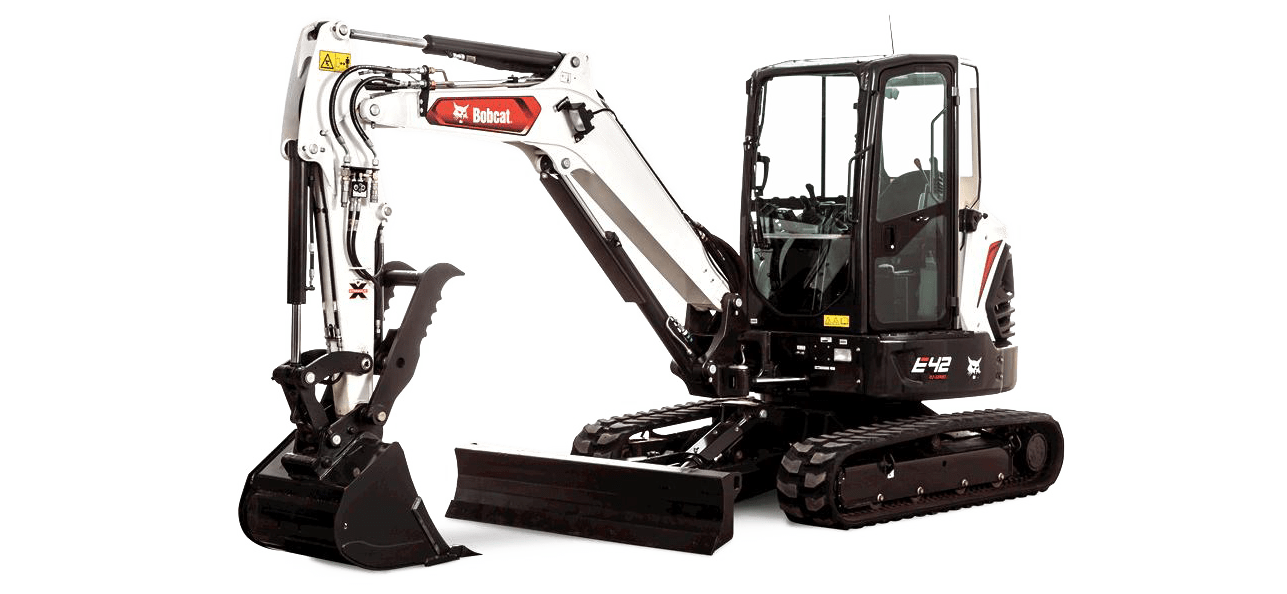

Installing rubber tracks on an excavator is a process that necessitates precision, attention to detail, and an understanding of the equipment. This procedure is critical because it not only ensures the efficient operation of your excavator but also preserves the lifespan of the tracks and the undercarriage components. Let’s delve into the step-by-step method that is generally recognized as the best practice for installing rubber tracks.
Before beginning, it is important to have a suitable workspace. This means a flat, stable surface clear of debris and obstructions. Safety is paramount, so ensure that all necessary personal protective equipment (PPE) is worn throughout the installation process.
Step 1: Preparation
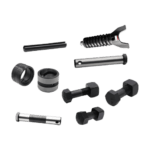
Ready your tools, including a hydraulic jack and stands, a wrench set, and a grease gun. Verify that the replacement rubber tracks correspond to your excavator’s model.
Step 2: Positioning
Position the excavator on the workspace and lower all attachments to the ground to stabilize the machine. Turn off the engine and engage any safety locks.
Step 3: Lifting the Excavator
Using the hydraulic jack, carefully lift the side of the machine where the track will be replaced. Place jack stands underneath for secure support. Never work under the machine without reliable support.
Step 4: Track Relieving
Locate the track tensioning mechanism, often found near the idler or sprocket, and remove its grease fitting. This will relieve the pressure, allowing the track to loosen. Carefully remove the current track, being mindful of its weight.
Step 5: Inspection
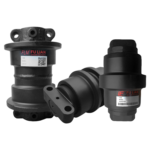
This is a great opportunity to inspect the sprockets, rollers, and idlers for wear or damage. Addressing these issues now prevents bigger problems in the future.
Step 6: Placing the Track
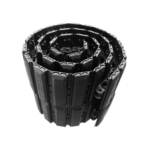
Orient the new rubber track correctly, aligning it with the excavator’s sprockets. Carefully place the track over the idler and ensure it sits flush against the undercarriage parts.
Step 7: Aligning and Fitting
Slowly roll the track around the sprocket, aligning the track’s lugs with the sprocket’s teeth. Proceed to fit the track around all the rollers. Confirm that it sits evenly, without twists or misalignments.
Step 8: Tensioning the Track
Once the track is fitted, replace the grease fitting and inject grease using the grease gun. This expands the idler, thereby tensioning the track. Follow the manufacturer’s specifications for the correct tension to prevent excessive wear or track slippage.
Step 9: Finalizing
With the track tension set, carefully lower the excavator, removing the hydraulic jack and stands. Perform the same steps on the other side if needed.
Step 10: Testing
After installation, engage the excavator’s systems and conduct low-speed maneuvers to test the tracks. Check for proper track alignment and tension. If adjustments are required, raise the excavator again and repeat the relevant steps.
Remember, precise tensioning is crucial. Over-tightening can cause premature track wear or fail, while too loose a track can lead to derailing or sagging. After the installation, keep an eye on the track tension and condition to ensure optimal operation.
In conclusion, replacing rubber tracks may seem daunting, but by following the methodical approach outlined, even less experienced operators can perform the job with confidence. It is always advisable, however, to consult the excavator’s service manual or to seek assistance from a professional if you are uncertain about any stage of the process. Remember, the longevity of your machinery depends on proper maintenance and installation practices.
Fulian Operation Team
2024.3.5